

Charge the collar fully, install the companion app, pair over Bluetooth, walk your fence boundary, then run an in-hand test before your dog wears it. Most owners finish this sequence in a short time, assuming the collar arrived with some charge already on it. The two things worth checking before you start: your phone’s Bluetooth and location settings are turned on, and you have a clear walking route around the yard or area you want fenced.
TL;DR:
- The collar must be fully charged and paired within 3 feet of the phone during setup; Bluetooth pairing fails often due to stale connections or contact issues.
- Using the walk boundary method requires walking slowly to create an accurate shape, then confirming the upload before testing on the ground.
- Testing the boundary with the collar in hand ensures warning and correction tones trigger properly before dog exposure, preventing false escapes.
- Subscription plans are optional; the core fence and alerts operate without cellular data, relying solely on GPS and Bluetooth for containment.
- Updating phone OS and Bluetooth drivers is crucial, especially on older or budget devices, to prevent compatibility issues during setup.
Table of Contents
- Before you begin: dog fence app setup checklist
- How do I install the dog fence app and create an account?
- Charging the collar and pairing it over Bluetooth
- How do I create my first virtual fence in the app?
- Testing the fence and training your dog on the boundary
- Troubleshooting common dog fence app setup problems
- App updates, subscriptions, and staying connected
- HAVEN Freedom setup notes worth knowing
- What Permissions Does the App Actually Need?
- Will the App Work on My Phone?
- How Do I Adjust My Fence Boundary After Setup?
- Author perspective: what most owners get wrong
- Get a Fence That Skips the Buried Wire Entirely
- FAQ
Before you begin: dog fence app setup checklist
A few minutes of prep saves you from restarting halfway through pairing. Setup goes faster when the basics are handled first.
- Phone: Bluetooth-capable, running a reasonably current iOS or Android version
- Collar: charged for at least two hours before first use
- Charger and cable: the one included in the box, not a substitute
- Location: an outdoor space with a visible patch of sky, since GPS won’t lock indoors
- Permissions: Bluetooth, location, and notifications enabled in your phone’s settings before opening the app
Give yourself 20 to 30 minutes without interruptions. Setup isn’t dangerous, but rushing the boundary walk is the single biggest reason fences end up too tight or too loose.
How do I install the dog fence app and create an account?
Every GPS collar setup starts the same way: get the official app, not a third-party lookalike, and register an account tied to your device.
- Search the official app in the App Store or Google Play. Confirm the developer name matches the collar brand before downloading, since fence and tracking apps get cloned by unrelated developers.
- Create your account using an email address you check often, since escape alerts and low-battery notifications route through it.
- Grant permissions when prompted. Bluetooth lets the app talk to the collar, location powers the GPS boundary itself, and notifications are what actually deliver an escape alert to your lock screen. Skipping any one of these breaks a core function later, not just a convenience feature.
- Add your collar from the onboarding screen, usually by entering a serial number or scanning a QR code on the box or collar itself.
- Follow the first-run prompts. Most apps walk you straight into charging status and pairing after registration, so don’t back out of the flow to explore menus yet.
This app-first pattern (install, permission, register device, follow prompts) is standard across GPS containment systems, not just one brand’s approach.
Charging the collar and pairing it over Bluetooth
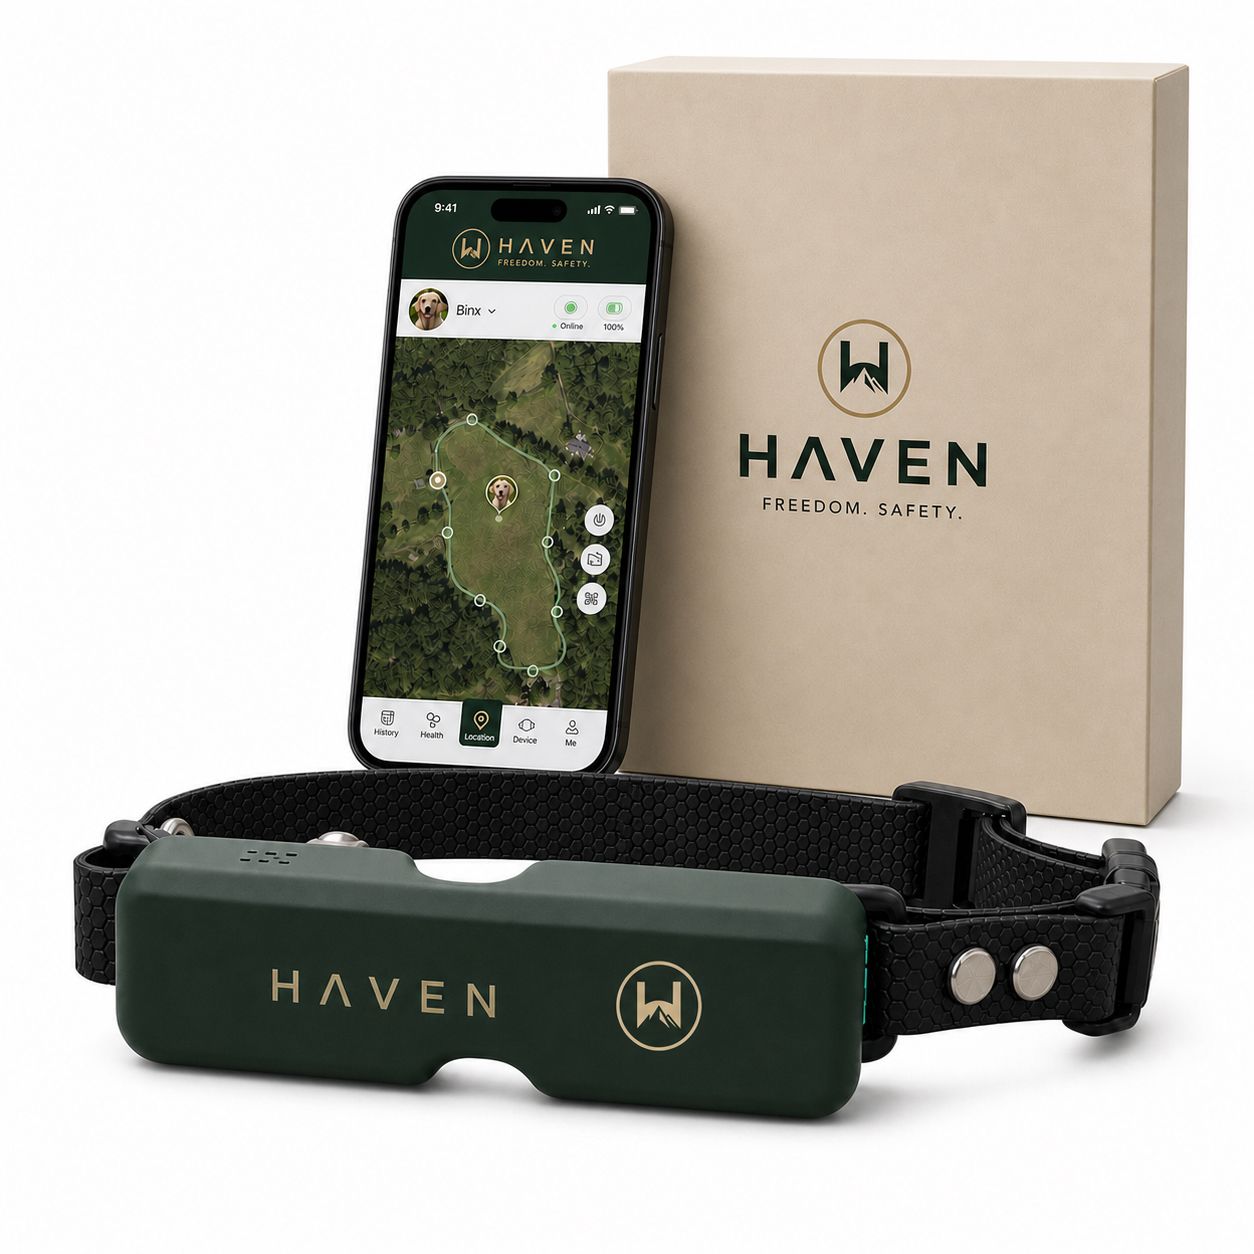
Plug the collar in and give it a full charge before the first outing. Most units take until fully charged before first use, though a collar that shipped partially charged may be ready sooner.
LED behavior tells you what’s happening even before you open the app:
- Solid or slow-pulsing light: charging normally
- Fast blinking: low battery or a poor connection at the charging contacts
- Light off entirely: fully charged, or not making contact with the charger
Once charged, power the collar on and open the app. It should detect the device automatically within a few seconds. If it doesn’t:
- Keep the collar within 3 feet of your phone during pairing
- Turn phone Bluetooth off and back on, then retry
- Confirm the collar is actually powered on. It’s easy to mistake a dim LED for “off” when it’s just in standby.
- Restart the app if pairing hangs for more than a minute
Pro Tip: If Bluetooth pairing keeps failing, forget the device in your phone’s Bluetooth settings menu entirely, then re-pair from scratch inside the app. A stale Bluetooth cache causes more failed pairings than any actual hardware issue.
Once paired, the app should show a battery percentage and connection status. That’s your confirmation everything is talking correctly before you move outside.
How do I create my first virtual fence in the app?
Most GPS fence apps use a walk-boundary method: you carry the collar (or your paired phone) and walk the exact perimeter you want, and the app drops points along your path to build the shape automatically.
- Open the fence creation tool and select “new boundary” or the equivalent option in your app’s main menu.
- Pick your starting point somewhere you’ll recognize later, like a specific corner of the yard or a fence post.
- Walk the perimeter slowly, holding the collar or phone at a consistent height. Speed matters here. Walking too fast causes the app to skip points and round off corners you actually wanted sharp.
- Watch for auto-placed points along your path. The app typically drops a marker every few feet, and you can usually see the shape building in real time on screen.
- Close the loop by walking back to your starting point, then tap “finish” or “close boundary.”
- Name and save the fence, then upload it to the collar. Wait for a confirmation message before disconnecting.
If you just need a quick circular boundary around a single point (a campsite, a trailhead, a rental property with no complex edges) skip the walk method and use an instant circular fence instead, entering a radius in feet or meters rather than walking the whole thing.
According to HAVEN’s boundary-training guide, vendor manuals consistently recommend walking slowly with the collar in hand and confirming the save before uploading, since an interrupted upload can leave the collar running an old or incomplete boundary. Don’t skip the verification step. A fence that looks correct on your phone screen but never actually reached the collar is the most common reason a “properly set up” system fails on day one.
Testing the fence and training your dog on the boundary
Before your dog ever wears the collar near the boundary, test it yourself. Carry the collar in hand and walk toward the fence line slowly, watching for the warning tone, then the alert tone, then the vibration or static cue, each should trigger at a predictable distance from the line. If nothing triggers until you’re standing on top of the boundary, something in setup needs a second look before you put it on your dog.
Once the in-hand test checks out, move to short supervised sessions with your dog on a leash:
- Start with 10 to 15 minute sessions, not a full afternoon off-leash
- Let your dog approach the boundary on leash and react naturally to the warning tone
- Reward with treats the moment your dog turns back on its own
- Repeat over several sessions before considering any off-leash time near the line
HAVEN’s training progression recommends exactly this order: in-hand tests first, then leashed on-dog sessions, then off-leash only after consistent, voluntary retreats. Adjust correction intensity in the app gradually. Jumping straight to a strong static correction on day one teaches fear of the collar, not respect for the boundary.
Pro Tip: A dog that flinches hard at the first vibration alert is telling you the intensity is set too high for a first exposure. Drop it a level and let the training build gradually instead of overwhelming the response.
Troubleshooting common dog fence app setup problems
Most setup snags fall into a handful of repeatable categories, and most have a quick fix.
- Bluetooth won’t pair: forget the device, restart both the app and phone Bluetooth, and keep the collar within 3 feet during the retry
- GPS never locks: move to open ground with a clear sky view and let the collar sit still for a few minutes rather than walking around while it searches
- Collar won’t charge or LED stays dark: check the charging contacts for dirt or moisture and confirm the cable is fully seated
- Update interrupted mid-install: don’t unplug or power off the collar. Reopen the app and let it resume, or restart the update from the beginning if it doesn’t resume on its own
- Persistent failures after basic fixes: have your collar’s serial number, app version, and phone OS version ready before contacting support, since that’s the first thing they’ll ask for
App updates, subscriptions, and staying connected
The core fence function on most modern GPS collars, including HAVEN Freedom, works without any monthly plan. A subscription only comes into play for live tracking, cellular-based location updates, and remote escape alerts sent to your phone when you’re not nearby, as explained on HAVEN’s how-it-works page.
A few things to expect once you’re set up:
- Firmware and app updates can take several minutes, particularly the first one after unboxing, so don’t disconnect early
- Fence-only mode draws less battery than live-tracking mode, since constant cellular pinging is what drains a collar fastest
- If you’re using live tracking regularly, plan on charging more often. Rugged outdoor use with tracking active typically shortens the interval between charges compared to fence-only use.
Owners who only need containment in a fixed yard often stay in subscription-free mode indefinitely. Those who hike or travel with their dog tend to add a plan seasonally rather than year-round, which keeps ongoing costs closer to occasional than constant. For a fuller breakdown of what you’d actually pay under either approach, HAVEN’s cost guide walks through the numbers.
HAVEN Freedom setup notes worth knowing
HAVEN’s collar uses dual-band positioning, which gains a GPS fix faster than single-band systems when you’re under tree cover or near buildings, conditions that trip up plenty of GPS fences during initial setup.
- Use the no-subscription fence mode for your first week of training. There’s no reason to pay for live tracking before you’ve confirmed the boundary itself works.
- Run the dog finder feature (sound, light, and Bluetooth radar together) once during setup, even with your dog right next to you, so you know how it behaves before you ever actually need it in the field.
- Keep the collar on its charger between test sessions during the setup week rather than letting it run down, since a half-charged collar mid-training is an easy way to lose your progress. For professional grooming and care advice in the area, consider reaching out to local dog groomers in Mobile, AL for expert support.
What Permissions Does the App Actually Need?
Every permission prompt during setup maps to a specific function, not blanket data collection. Bluetooth access lets your phone talk directly to the collar for pairing, status checks, and firmware pushes. Without it, the app can’t even confirm the collar is charged. Location access is what makes the entire fence system possible: the app needs your position to draw the walk-boundary, and the collar needs GPS to know when your dog crosses it. Denying location access doesn’t just limit a feature, it disables the fence entirely.
Notification permission is what actually delivers an escape alert to your lock screen the moment your dog crosses the line. Many owners skip this prompt without realizing it, then wonder later why they never got an alert during an actual escape.
Beyond the functional permissions, check your app’s privacy settings for a few things that matter for a device that tracks a location, even a pet’s:
- Data sharing toggles, often buried in account or privacy menus, that control whether anonymized usage data leaves the app
- Location history retention, which determines how long past tracking data stays stored versus getting cleared automatically
- Third-party access, relevant mainly if you plan to share tracking access with a dog walker or family member
HAVEN publishes its own data practices and opt-out options directly, including a privacy choices page where you can review or adjust what gets shared. Reading through it once during setup is worth the two minutes it takes.
Will the App Work on My Phone?
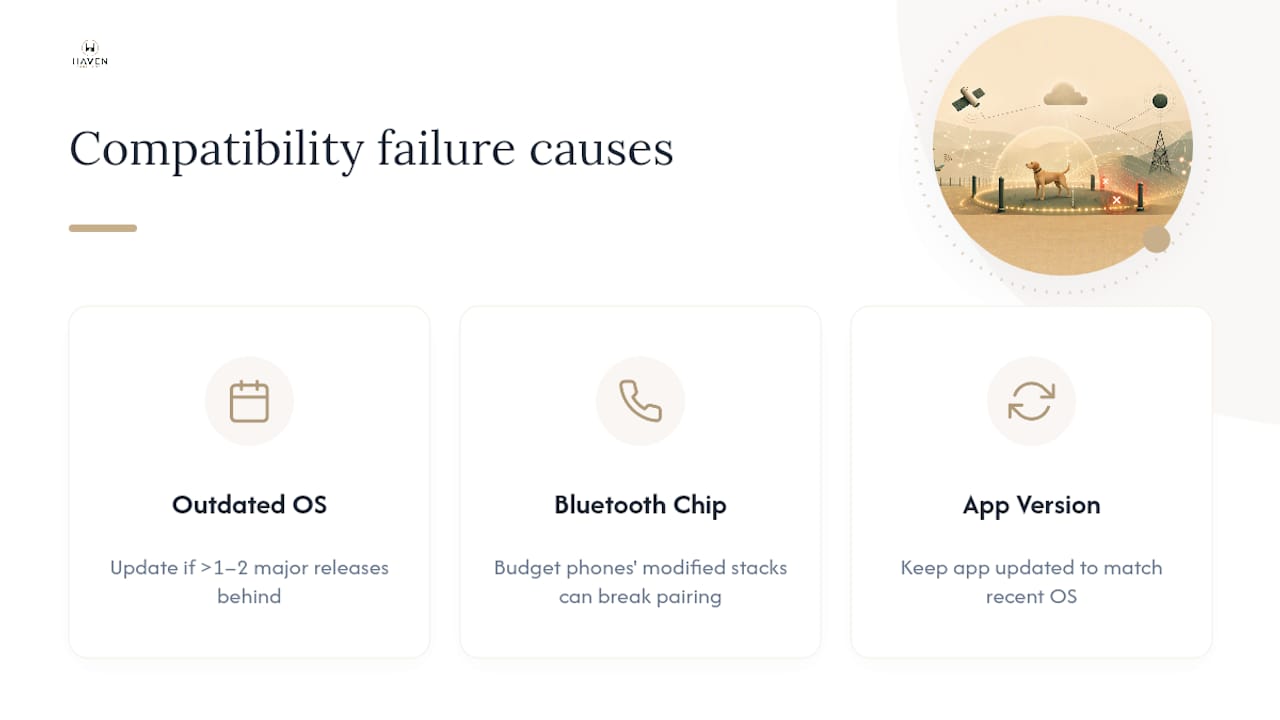
Compatibility problems during setup almost always trace back to one of three things: an outdated OS, a phone model with a nonstandard Bluetooth chip, or a fence app that hasn’t been updated to match a recent operating system release.
If your phone’s iOS or Android version is more than one or two major releases behind current, update it before installing the app. Older OS versions sometimes handle background Bluetooth connections differently, which shows up as random disconnects between your collar and phone hours after a seemingly successful pairing.
Budget Android phones from smaller manufacturers occasionally ship with modified Bluetooth stacks that behave inconsistently with GPS collar apps, even when the phone technically meets the minimum OS requirement. If you’re on one of these devices and pairing keeps failing despite following every step correctly, updating the phone’s own Bluetooth drivers (when the manufacturer offers that update separately from the OS) sometimes resolves it.
A practical rule: if your phone is under three years old and running a current OS update, compatibility issues are rare. If it’s older than that, check the app’s listed minimum requirements in the App Store or Google Play description before you assume a setup failure is your mistake rather than a phone limitation. When in doubt, the collar itself isn’t the problem, since the fence hardware works independently of any specific phone. It’s the Bluetooth handshake between phone and collar that’s the usual point of failure on older or unusual devices.
How Do I Adjust My Fence Boundary After Setup?
Boundaries aren’t fixed once you save them. Yards change, dogs earn more freedom over time, and sometimes the original walk just wasn’t precise enough.
- Open the existing fence from your app’s fence management menu rather than creating a new one from scratch.
- Choose edit mode, which typically lets you drag individual boundary points on the map or re-walk sections rather than the entire perimeter.
- Adjust specific points by dragging them on the in-app map if you just need to nudge a corner, or re-walk a problem section if the original line was inaccurate.
- Save the updated boundary under the same fence name to avoid confusion with an old, outdated version still stored in the app.
- Re-upload to the collar and wait for confirmation, exactly as you did during initial setup.
- Re-test before trusting it. Any boundary change deserves the same in-hand test you ran the first time, since even a small drag on the map can shift the real-world trigger distance more than expected.
Treat every boundary edit as a mini version of initial setup. Skipping the re-test step after an edit is how owners end up with a fence that’s technically “updated” in the app but never actually confirmed on the ground.
Author perspective: what most owners get wrong
The three mistakes we see most often: rushing the boundary walk, skipping the in-hand test before putting the collar on the dog, and jumping straight to strong corrections instead of building up gradually. None of these are hardware failures. They’re patience failures, and they’re the difference between a fence that works on day one and one that needs troubleshooting a week later.
Pro Tip: Keep the collar on its charger between training sessions, not just after a full day of use. A collar that dies mid-session teaches your dog nothing and costs you a repeat walk of the boundary.
— Haven
Get a Fence That Skips the Buried Wire Entirely
There’s a reason so much of this guide is about walking boundaries and checking Bluetooth pairing instead of digging trenches: HAVEN Freedom’s dual-band GPS collar builds your fence entirely through the app, with no wire, no professional install, and no subscription required to keep the fence itself running.
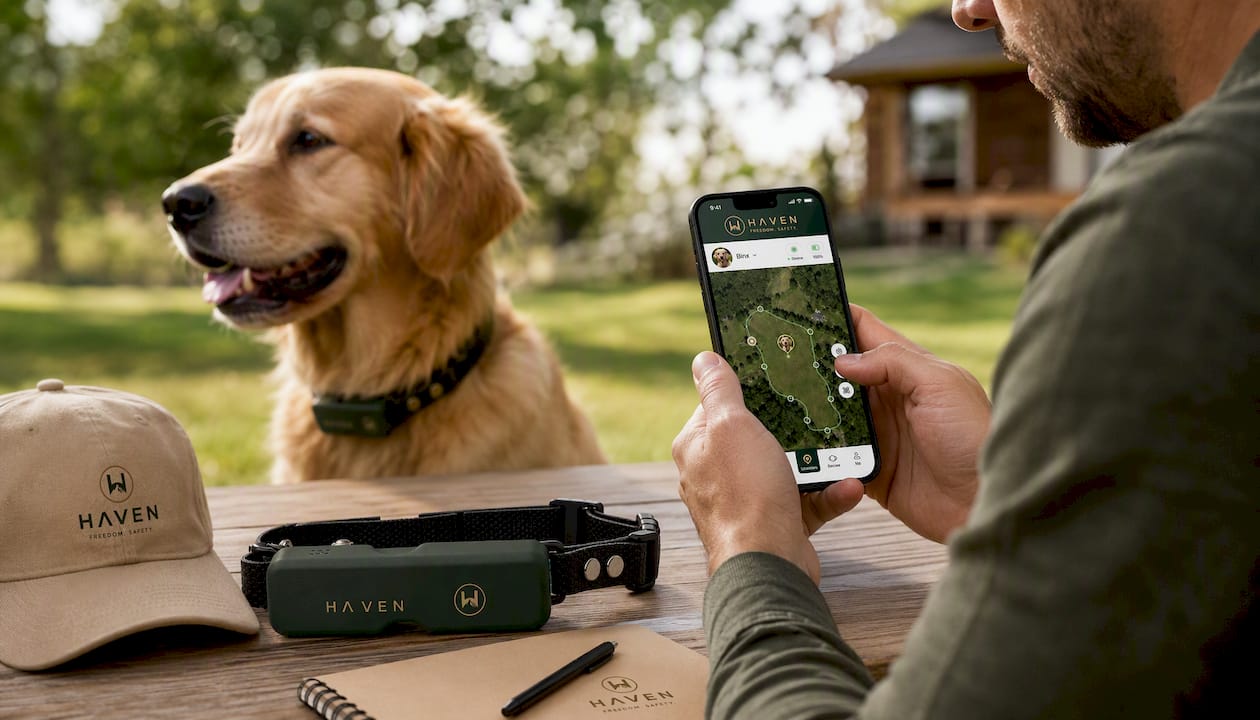
Live tracking and escape alerts are there if you want them, added as an optional plan rather than a requirement to use the core fence. If you’re ready to skip the wire-burying weekend altogether, check out the HAVEN Freedom GPS collar and see the full feature breakdown before you order.
FAQ
How do I set up a wireless GPS dog fence system?
Charge the collar, install the companion app, grant Bluetooth and location permissions, pair the collar, walk your boundary in the app, upload it, then test with the collar in hand before your dog wears it.
What is the best subscription-free dog fence?
Look for a GPS collar where the fence and containment alerts work without a monthly plan, and where a subscription is only needed for optional extras like live cellular tracking. HAVEN Freedom’s fence mode runs this way by design.
How long does the collar need to charge before first use?
Most GPS collars need to be fully charged before their first outing, though a partially charged unit out of the box may take less time.
Why won’t my collar pair with the app over Bluetooth?
Keep the collar within 3 feet of your phone, confirm the collar is actually powered on rather than in standby, and if pairing still fails, forget the device in your phone’s Bluetooth settings and pair again from scratch.
Do I need a cell phone plan for the fence to work?
No. The core fence and boundary alerts typically function through Bluetooth and GPS alone. A cellular data plan only matters for features like real-time remote tracking when you’re away from the immediate area.
Recommended
Keep reading
en
Puppy E-Collar Age: When Is It Safe, and What to Use First
No vet-backed minimum age exists for shock collars on puppies. See what vets advise, what to do before 6 months, and how a GPS...
Read the postcharge dog collar camping
Charging a Dog Collar at Camp: Skip Bedding, Use a Hard Surface
Charge a dog collar safely at camp with a power bank, original cable, and solar or car backup. Follow National Park Service battery safety...
Read the postYour adventure starts here
Ready to give your dog more room to roam?
Give your dog more freedom to explore — and give yourself the reassurance of knowing they're never far away.
